Hexo搭建个人博客
搭建博客
环境搭建
安装 Git && Node.js

安装 Hexo
Git 和 Node.js 安装好之后,首先创建一个用于存放博客文件的文件夹,进入文件夹后,安装并使用 Hexo 。
1 | npm install -g hexo-cli |
安装完成之后,文件夹的目录如下:
|——node_modules
|——public
|——scaffolds
|——source
|——themes
|——_config.yml
|——.gitignore
|——db.json
|——package.json
|——package-lock.json
生成静态博客文件
在 Git Bash 终端执行命令:
1 | hexo g # 生成 |
在浏览器中访问 http://localhost:4000/
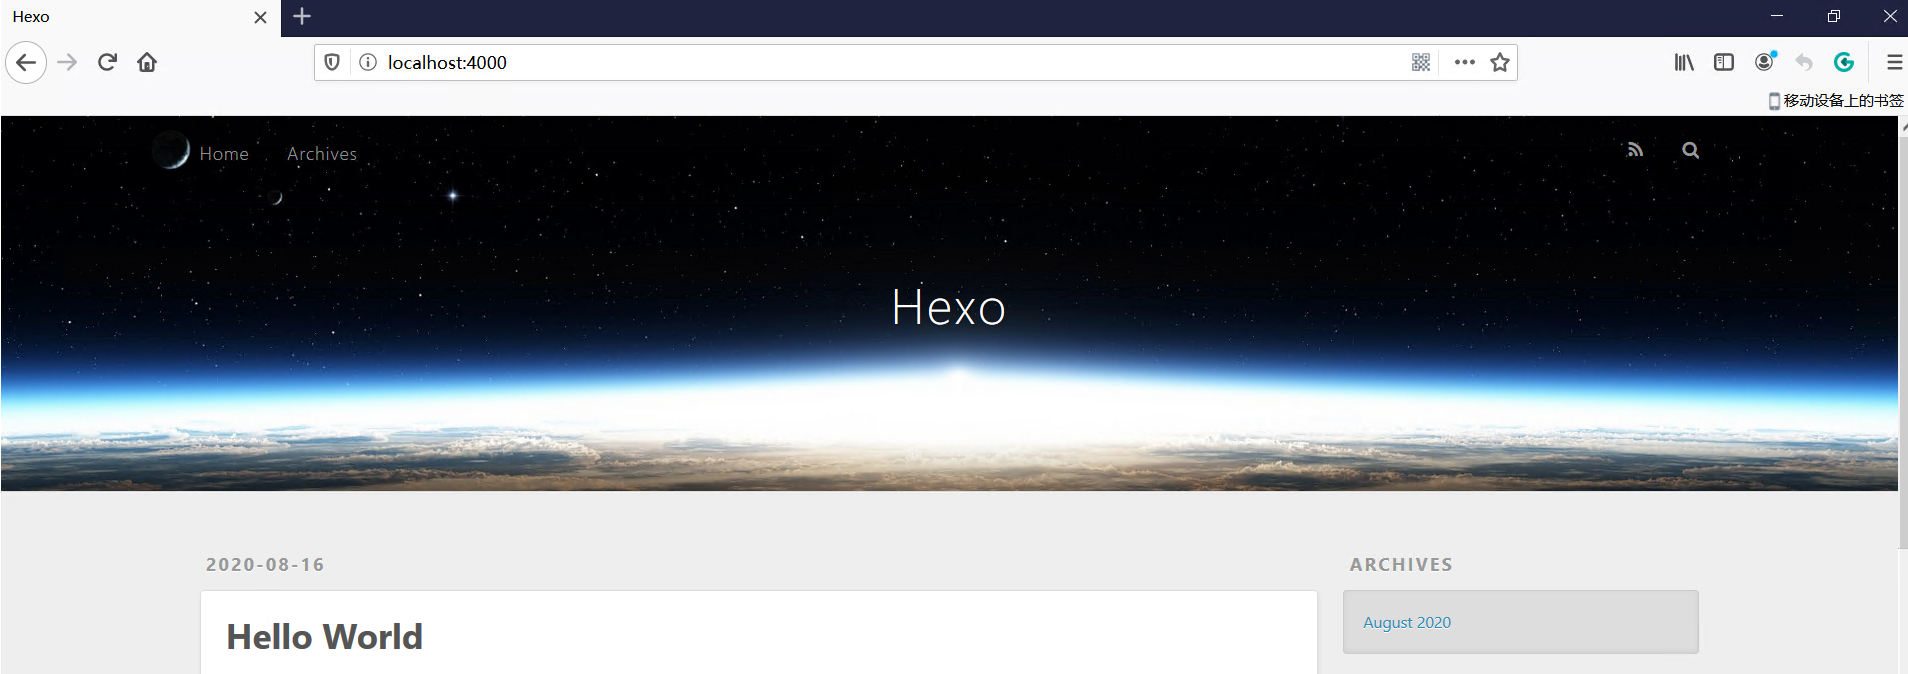
将博客部署到 Github 上
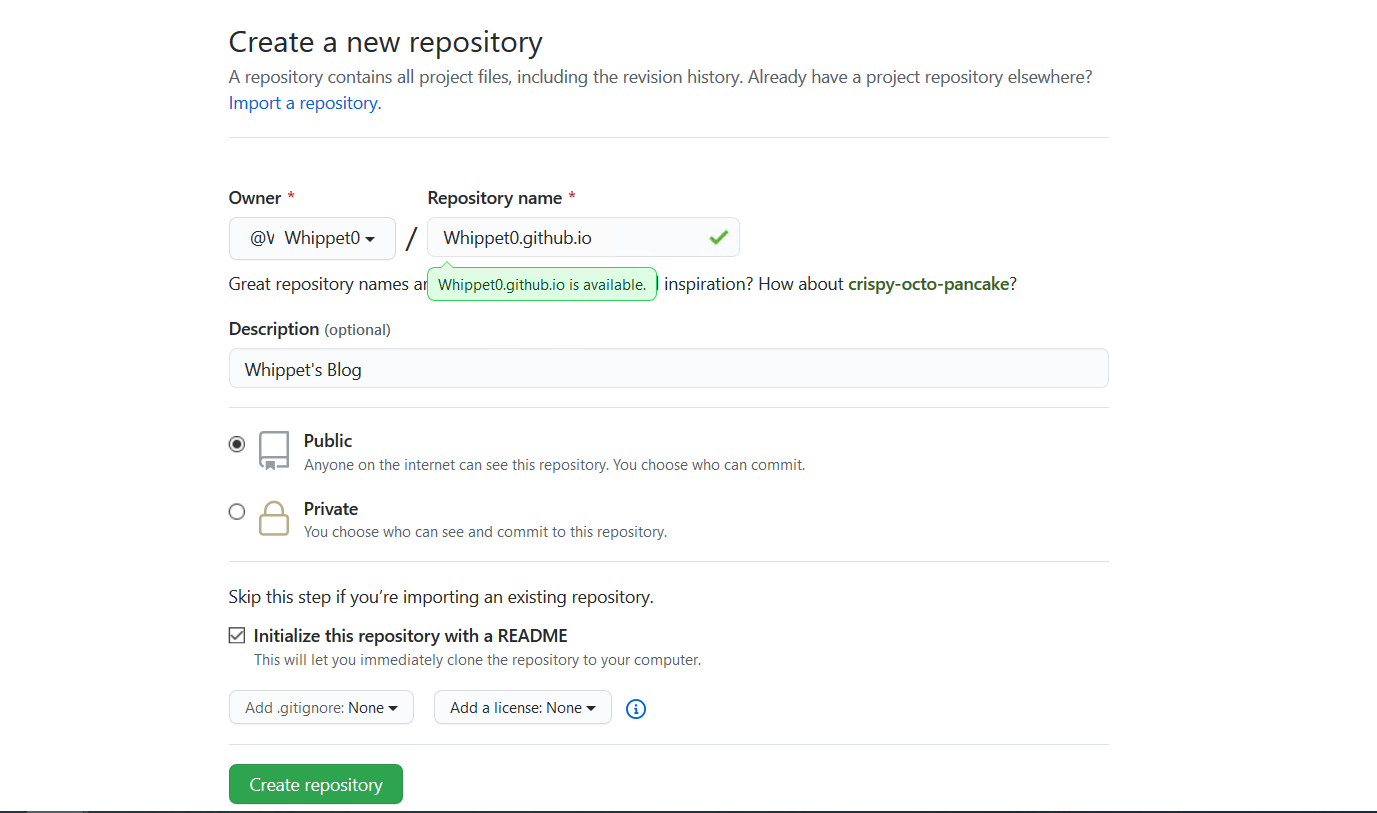
创建仓库
创建一个名为你用户名.github.io的仓库,(必须是用户名,其他名称无效),以后的访问地址就是 http://用户名.github.io
配置 SSH 密钥
查看本机是否存在 .ssh 目录
1 | cd ~/.ssh |
如果不存在,则创建一对新的 SSH 密钥
1 | ssh-keygen -t rsa -C "your_email@example.com" # 这将按照你提供的邮箱地址,创建一对密钥 |
根据提示到输入密码和确认密码
1 | Enter passphrase (empty for no passphrase): [Type a passphrase] |
生成 SSH 之后 运行如下命令,将公钥的内容复制到系统粘贴板(clipboard)中:
1 | clip < ~/.ssh/id_rsa.pub |
粘贴公钥到 github --> Settings --> SSH keys
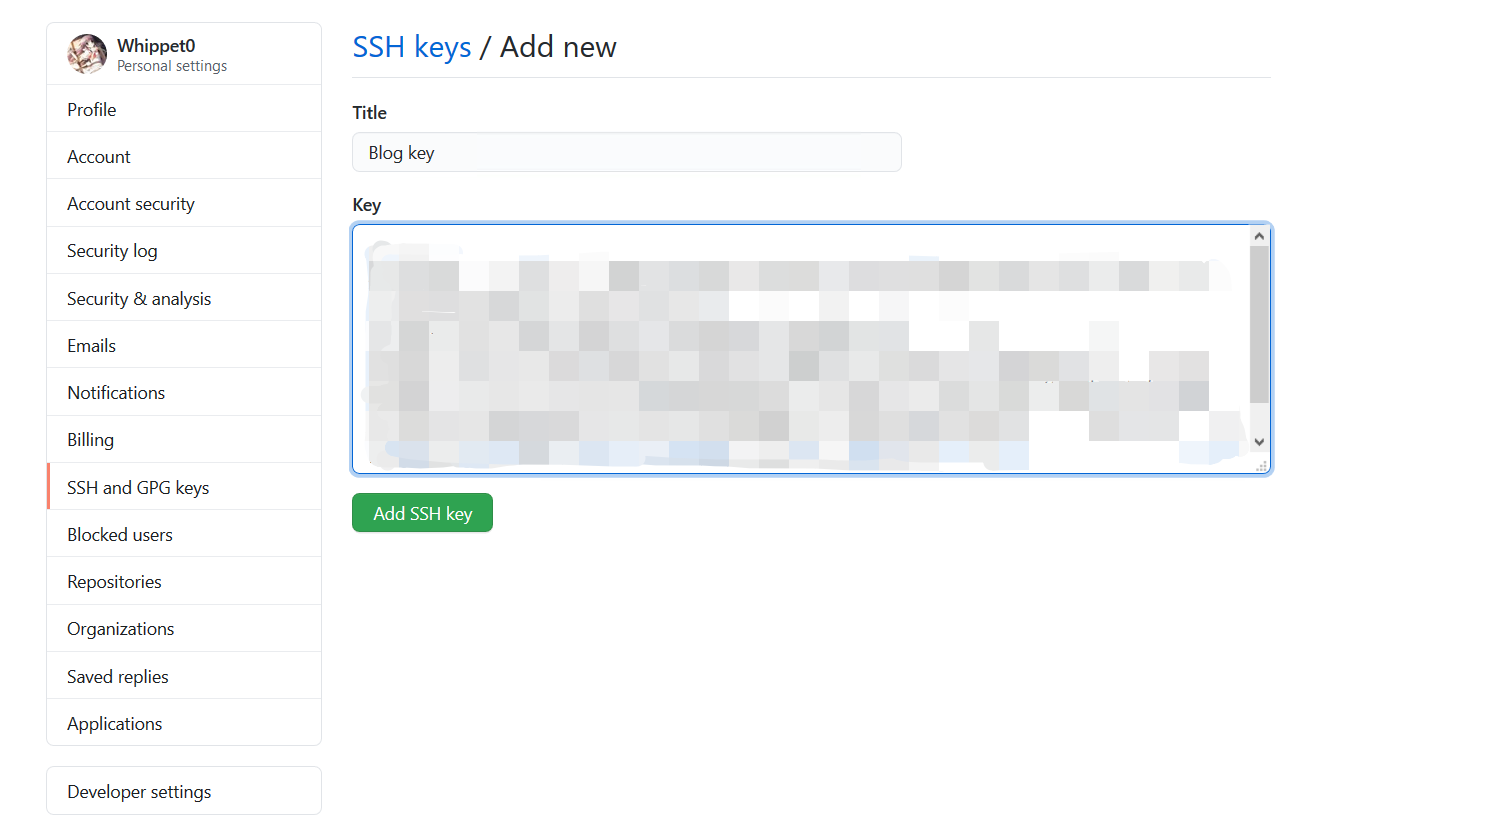
进行测试,看是否设置成功
1 | ssh -T git@github.com |

设置用户信息
Git 会根据用户的名字和邮箱来记录提交,GitHub也是用这些信息来做权限的处理,输入下面的代码进行个人信息的设置,把名称和邮箱替。
1 | git config --global user.name "Whippet" #用户名 |
本地的 Hexo 文件 更新到 Github
登陆 Github 找到地址
https://github.com/Whippet0/Whippet0.github.io.git
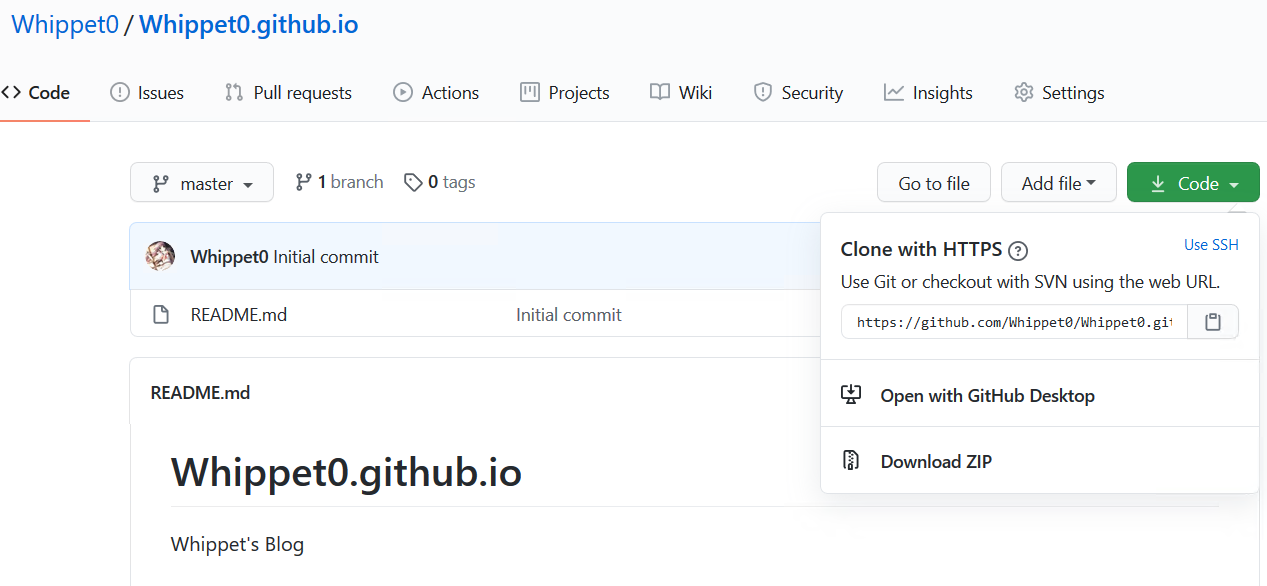
复制至 hexo 安装目录下的 _config.yml 文件中
1 | # Deployment |
在 hexo 文件夹下执行
1 | hexo g |
如果 hexo d 的时候报错 ERROR Deployer not found: git
执行 npm install hexo-deployer-git --save
然后需要输入 github 的账号和密码
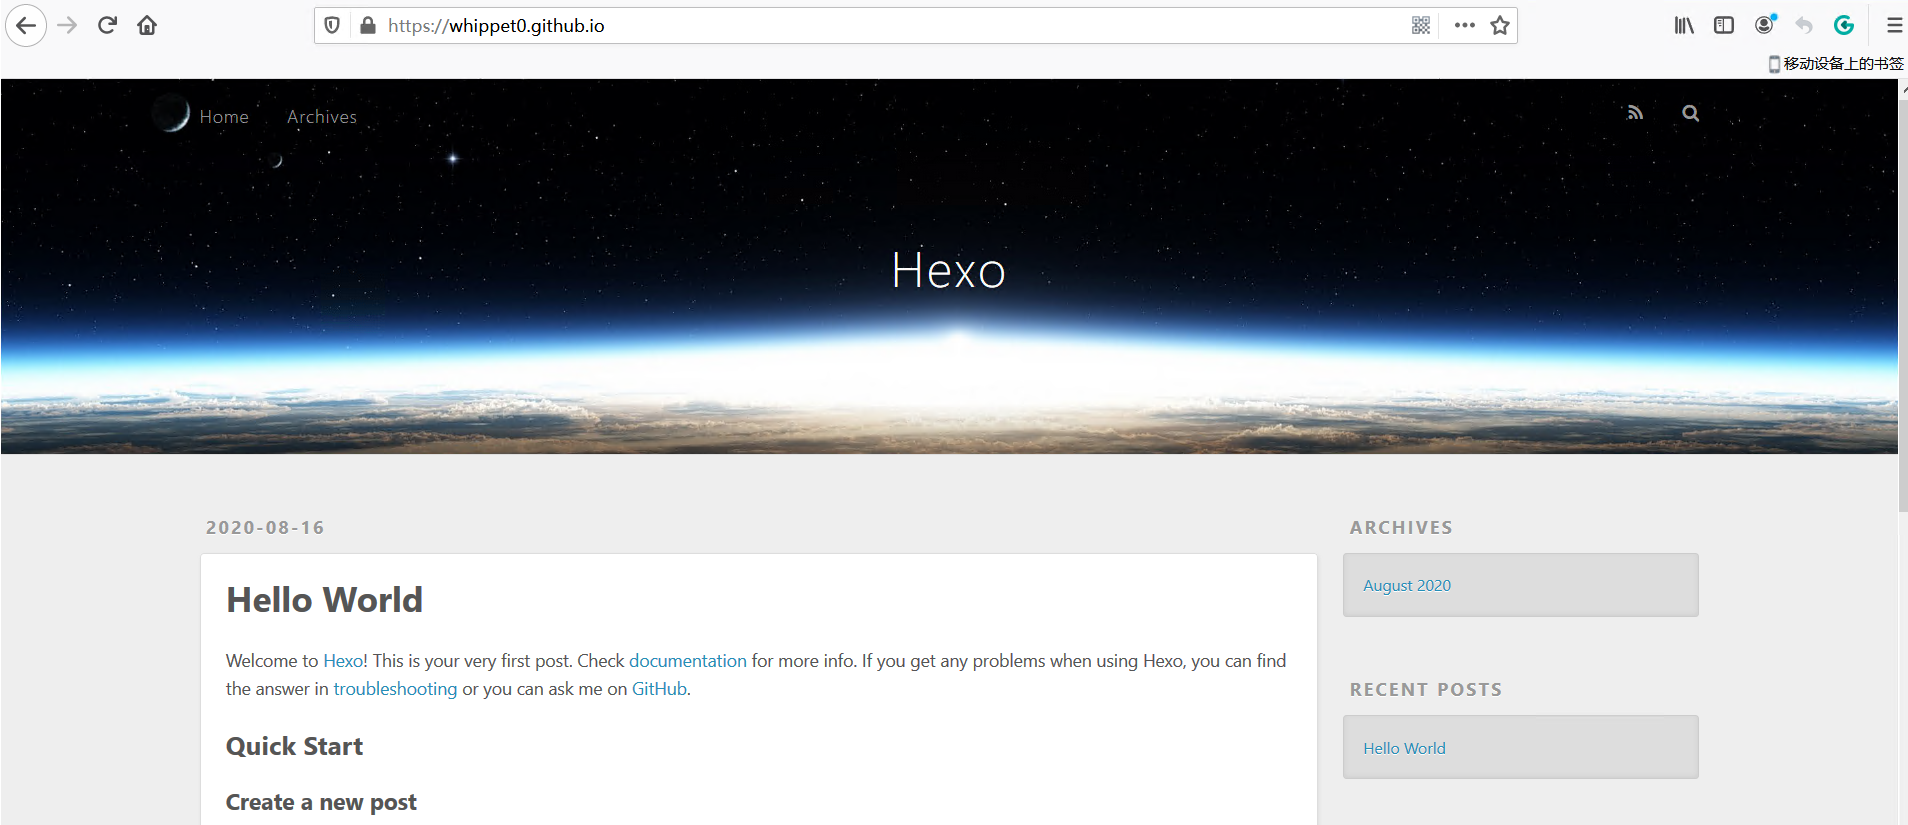
成功之后访问 https://whippet0.github.io/
美化博客
进入 hexo 主题官网
挑选我们喜欢的主题,复制主题的地址
https://github.com/Molunerfinn/hexo-theme-melody
打开Hexo文件夹 按照 github 上的提示进行操作 若没有提示则直接 git clone 该文件夹。
下载完成后,打开Hexo文件夹下的配置文件_config.yml
修改参数为:theme: melody
在 Git Bash 终端执行命令:
1 | hexo g # 生成 |
在浏览器中访问 http://localhost:4000/
在本地进行查看
部署主题到github 上
1 | hexo clean (必须要,不然有时因为缓存问题,服务器更新不了主题) |

最后我选择了这个主题 stun 因为有配套的中文说明,所以配置起来很方便。
同时也可以让博客上添加一些 Emoji 👴
发布文章
图片配置
在根目录下配置文件_config.yml 中 post_asset_folder: true
安装插件
1 | npm install https://github.com/CodeFalling/hexo-asset-image -- save |
利用 hexo n "文章名称" 在 source\_posts下生成一个新的文章时,同时也会生成一个文章名称的文件夹,把图片放在文章名称文件夹下,在 markdown 中利用图片时是需要加上文件夹的目录,但是上传至 github 时 并不需要文件夹的目录。
然后就利用 Oah 的脚本,轻松解决了这个问题。